To my surprise it is extremely easy to make a machine that etches and marks metal (steel in particular) using electricity. This is one of those projects where the enclosure for the whole contraption will cost more than the internal components. So here we go.
Why?
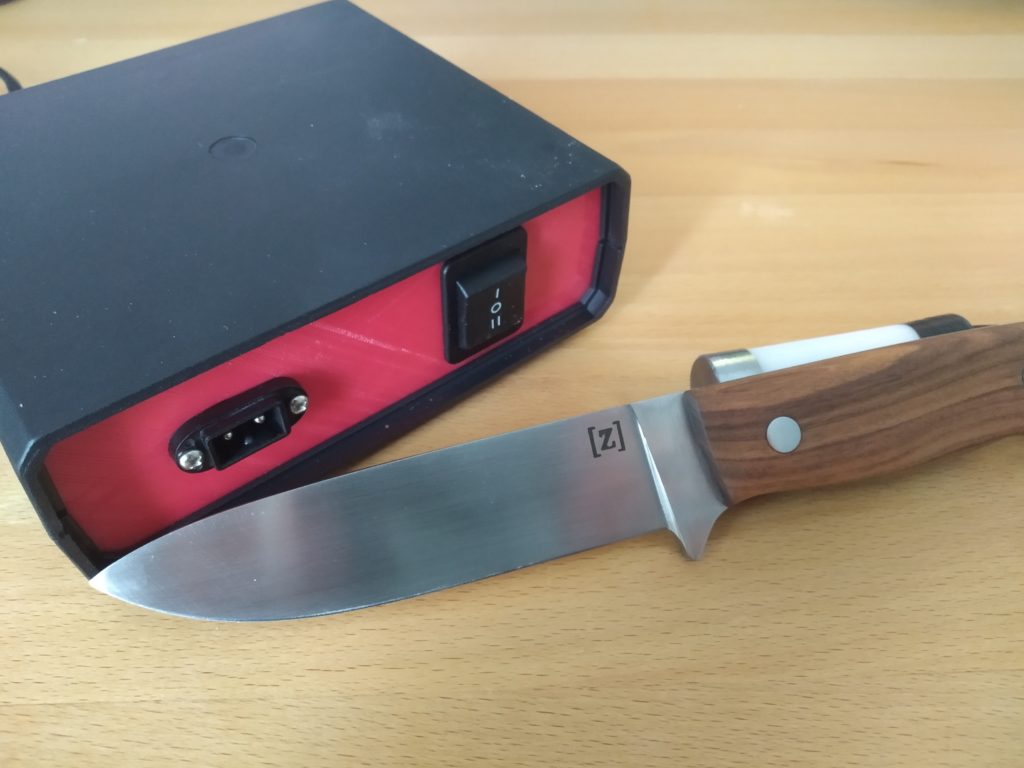
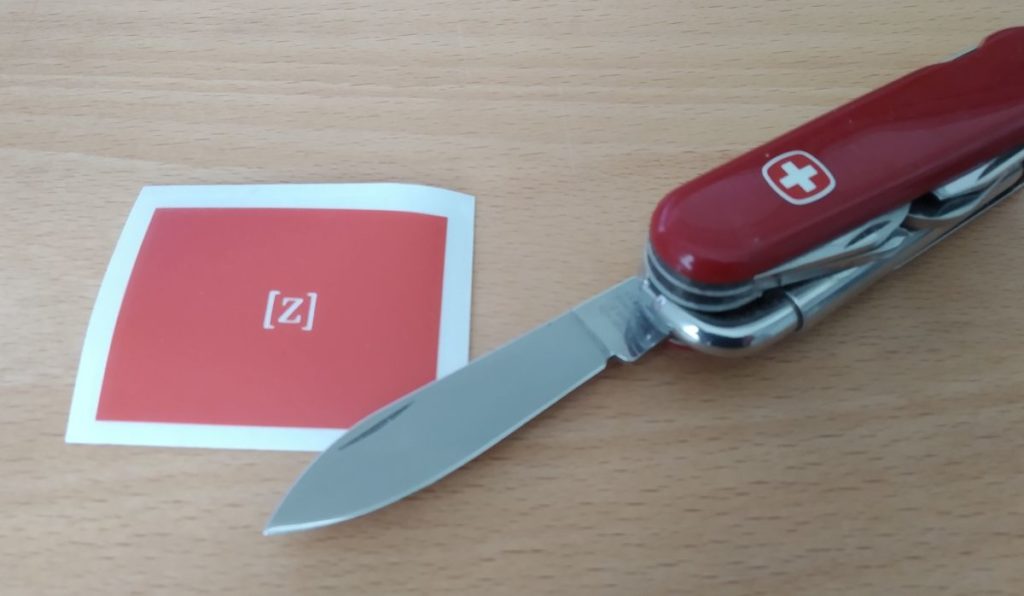
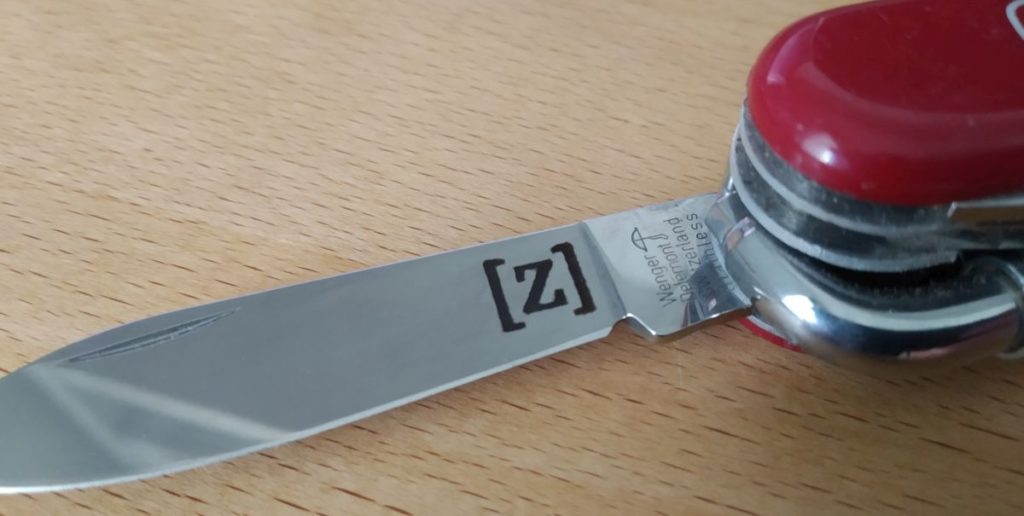
Etching into steel is a great way of “signing” your work. It looks quite professional, it’s durable and cheap. My application of choice is knives – you can see a lot of handmade knives with etched maker’s mark, so I consider this method an industry standard. Here is my knife (no. 2 to be precise) etched with my mark.
How?
What I call etching is technically two separate processes – “etching” and “marking”. Etching physically removes the material, creating a void where the in the spot that you designate. Marking is then use to oxidize the metal, turning it black (which generally creates a nice contrast with the surrounding surface).
Both processes use electricity – but while etching uses DC, marking will use AC. The voltage requirements are pretty low, which is also good news – if you have a power supply that gives around 10 Volts, you are good to go. The tricky part is to have a power supply that can give you those 10 Volts in DC AND THEN when you need it, switches to 10 Volts AC.
With?
You will need:
- old style phone charger (one of those that weigh a ton – it should not be the newer, lighter style – if it says “switch mode power supply”, you do not want that);
- alligator clip for the positive anode;
- two pole, double throw switch (I used a three position unit)
- soldering iron;
- voltmeter;
- some two pole cables, two pole connector (male+female) of your choice;
- some kind of enclosure big enough for the charge with spare room for the cables;
- material for the anode – in the simplest form a bolt and two nutes might do.
Details?
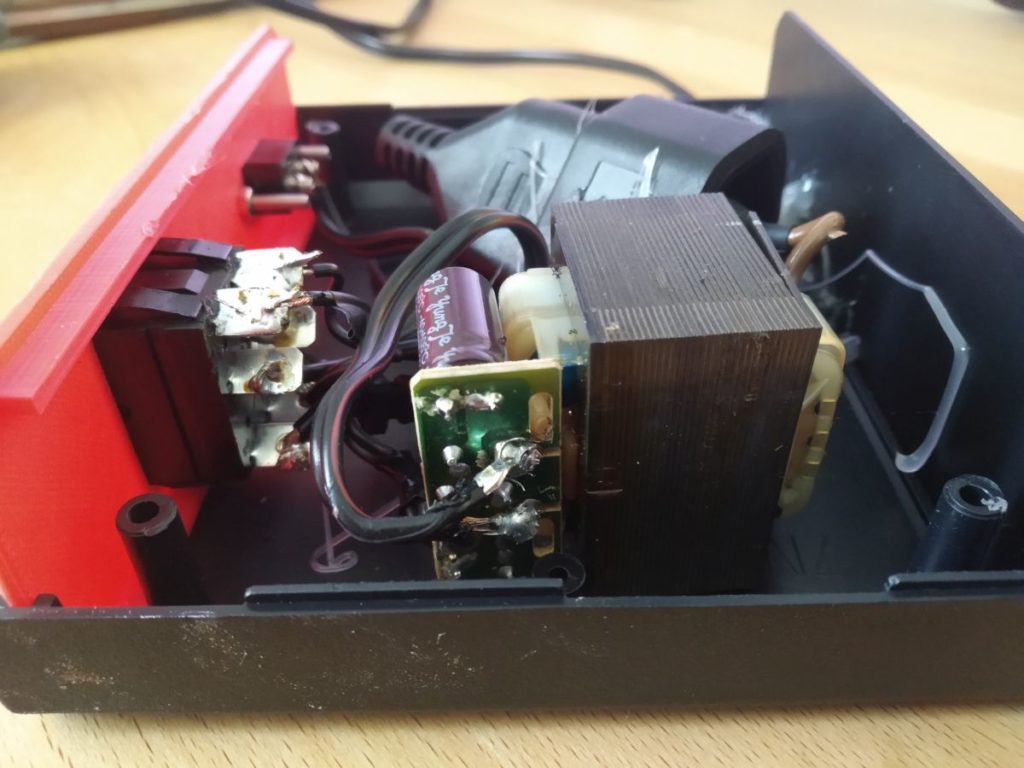
First you need to open up the charger to expose the internal transformer. Cut into the charger with a thin kerf saw. You will see the transformer itself and probably a small circuit board. The transformer is connected to the board at two spots. That is where the stepped down AC voltage enters the board. From there the board will use diodes to rectify the voltage into DC, and that is the standard output of the charger. You will use the standard output as is, but you also need to tap into the stepped down AC voltage. Solder a two wire cable into the spots where the transformer interfaces with the circuit board. It might look like this:
Use your voltmeter to check the connectivity, and eventually the voltage.
Then connect the standard DC output and your newly acquired AC output to the two pole, double throw switch. Connect the output of the switch to your two pole connector. The whole connection could look like this:
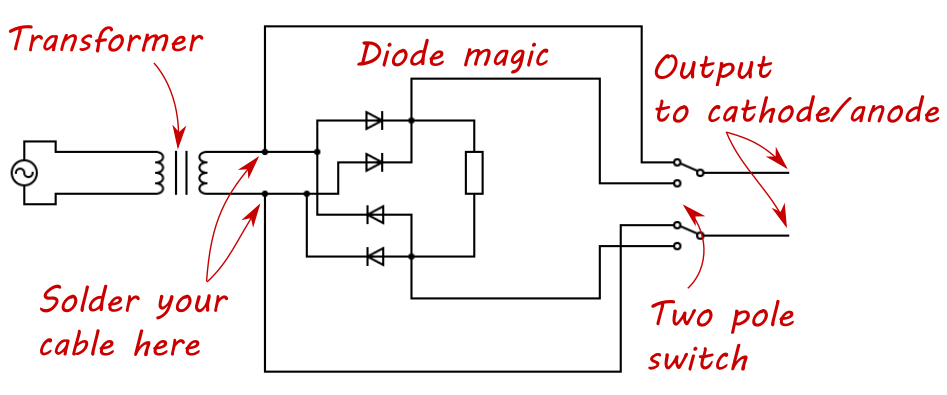
When switched to DC output, the positive wire should be connected to an aligator clip that you will attach to your workpiece. In AC the polarity is changes constantly so no need to connect the wires in a specific way.
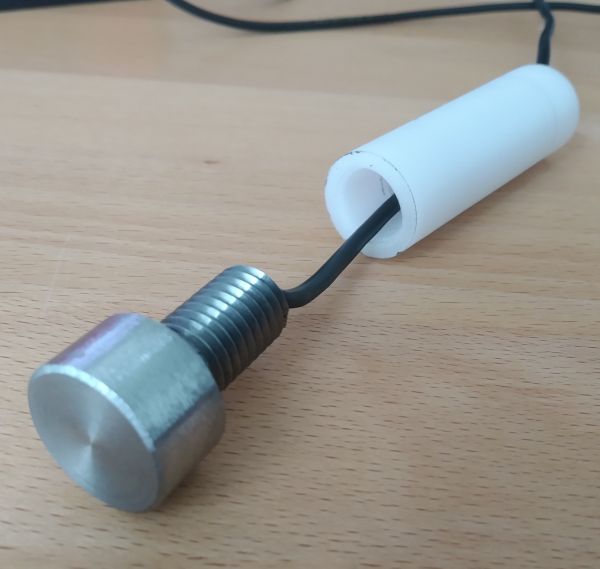
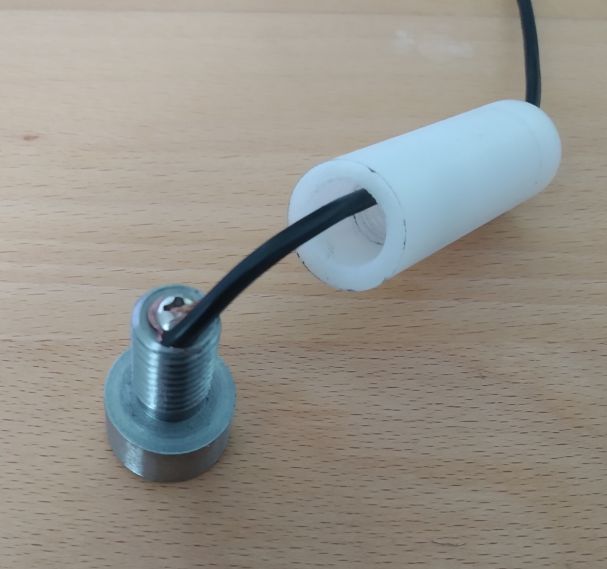
As said before, the anode is an alligator clip. There are many ways how to fabricate the cathode. I chose to make mine from a piece of round nylon rod, which I drilled and tapped with M12 thread. The thread accepts a simple bolt-like part that also has an M4 threaded hole where the wire is connected. Screw everything together, add some electrical tape as insulation and strain relief and you are done:
Results?
Now you need an electrolyte – water mixed with salt will do just fine. Cover the steel tip of your cathode with some spongy material, such as those cosmetic cotton pads.
To actually etch some shape, you’ll also need to cover up the surface that will NOT be etched with something. Eletrical tape works fine for simple shapes (well, squares or triangles), but for anything more complex you’ll need a stencil. Stencil is basically a nicely made vinyl sticker with your desired shape cut out of it. You can order these at your copy shop centers or similar. Create your desired shape in some vector editor (I use InkScape), export in real dimensions (PDF might be ok), and send it for a quote. I got mine for about $0.50 each (minimum order is 168 stickers – I’m set for a long time). If you are careful the stencils could be reused, but do not count on it. And if you are smarted than me, you may try to fit multiple instances of your shapes onto one sticker, then cut them yourself. Here’s what one sticker looks like:
Now plug in your machine, wet your cathode with electrolyte, switch to DC mode and etch away!

You should see some bubbles comming out from under the cathode, along with some light vibrations. Don’t keep the cathode in one spot for long time. Use wiping motion, rocking motion, be careful not to disturb your stencil, check your progress. Then switch to AC, and mark.

And there you go!
Thanks
-Pavel